Default Swiper Slider Template
The purest starting point for any Swiper slider. This template loads Swiper with every parameter set to its default value — no navigation, no pagination, no effects, no autoplay. It is a blank canvas that lets you build exactly the slider you need without removing or overriding anything first. Open it in Swiper Studio, add the features you want, and export production-ready code in minutes.
#What Makes This Template Stand Out
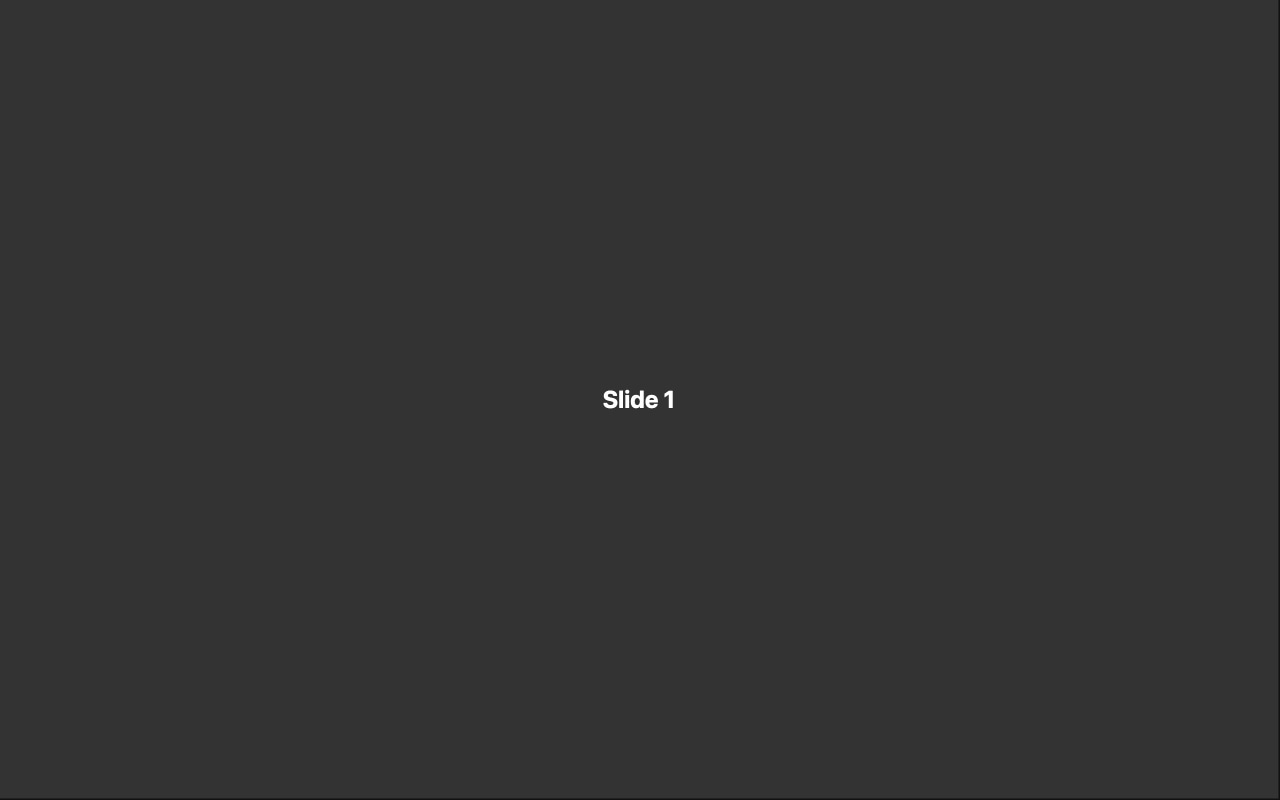
True Blank Canvas
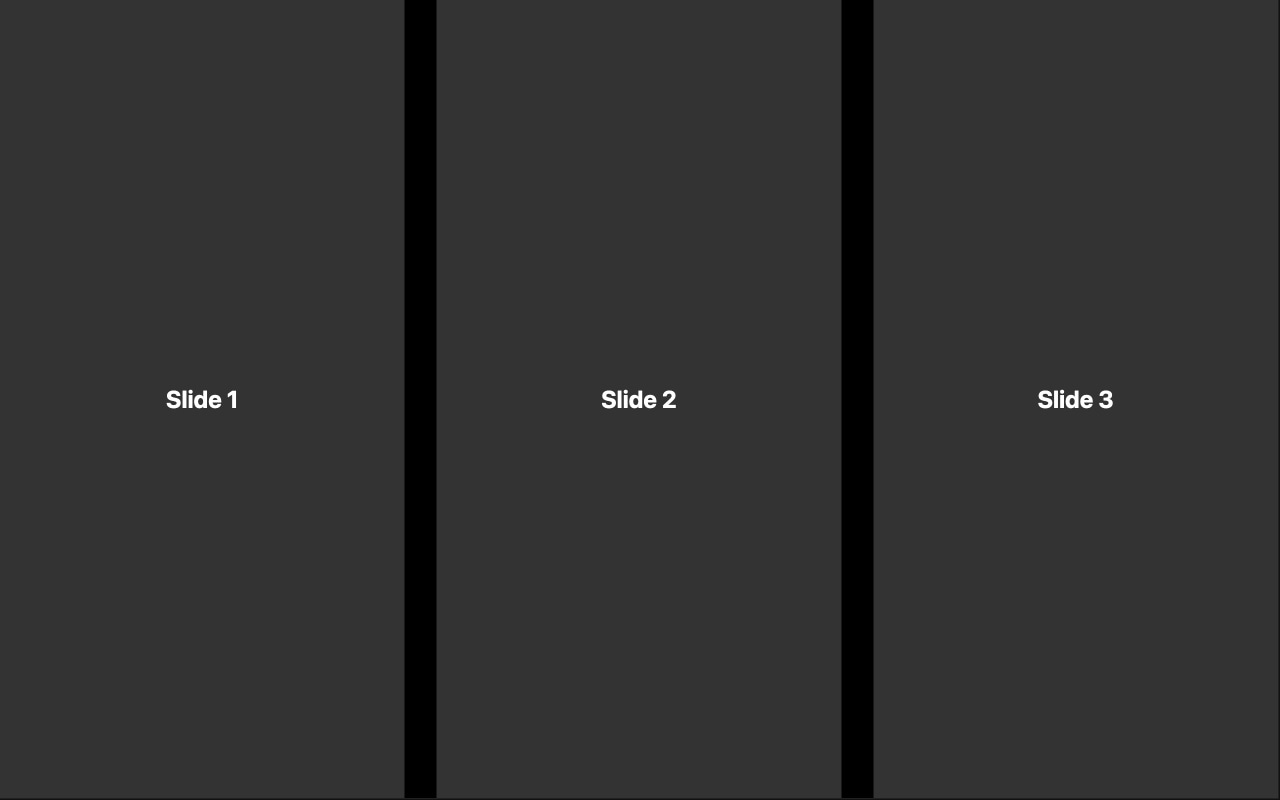
Every Swiper parameter is at its factory default. There are no pre-enabled features, no opinionated styling choices, and no extra markup to clean up. You start with the absolute minimum — a functional horizontal slider — and build up from there. This is the most direct path from idea to finished slider.
Zero Configuration Overhead
Because nothing is pre-configured, there is nothing to undo. Other templates give you a head start on a specific design, but this one gives you a head start on any design. No time spent toggling off features you do not need or overriding styling you did not choose.
Learn Swiper from the Ground Up
If you are new to Swiper, this template is the best way to understand how the library works. Start with defaults, then enable one feature at a time — add pagination, turn on autoplay, switch to a fade effect — and see exactly what each parameter does in isolation. It is hands-on documentation.
Lightweight Output
Since only the features you explicitly enable are included, the exported code is as lean as possible. No unused CSS for navigation you did not add, no JavaScript for effects you did not choose. The result is the smallest possible bundle for your specific slider.
#Who Should Use This Template
Developers who know exactly what they want will appreciate starting from a clean state. If you have a design spec or wireframe and need to translate it into a Swiper slider, the default template means you configure only the parameters that matter for your build. There is no guesswork about what was pre-set and what you changed — every non-default value in the exported code is something you intentionally chose.
Designers exploring Swiper for the first time should start here. The default template is the simplest possible Swiper, and the visual editor lets you experiment freely. Toggle features on and off, try different effects, adjust spacing and speed — each change is visible immediately in the preview. It is the fastest way to learn what Swiper can do without reading documentation.
Anyone who finds pre-built templates too opinionated will feel at home with defaults. Sometimes you do not want someone else's design decisions baked into your starting point. This template respects that — it gives you Swiper's raw capabilities and lets you make every decision yourself.
#Best Use Cases
- ✓Starting a custom slider build where you need full control over every parameter from the beginning
- ✓Learning Swiper by experimenting with features one at a time in the visual editor
- ✓Prototyping slider concepts quickly before committing to a specific design direction
- ✓Building minimal sliders where lightweight code output is a priority
- ✓Creating developer documentation or tutorials that demonstrate Swiper's default behavior
- ✓Testing a specific Swiper feature in isolation without interference from other settings
#How to Customize
- Click 'Use This Template' to open the default slider in Swiper Studio's visual editor1
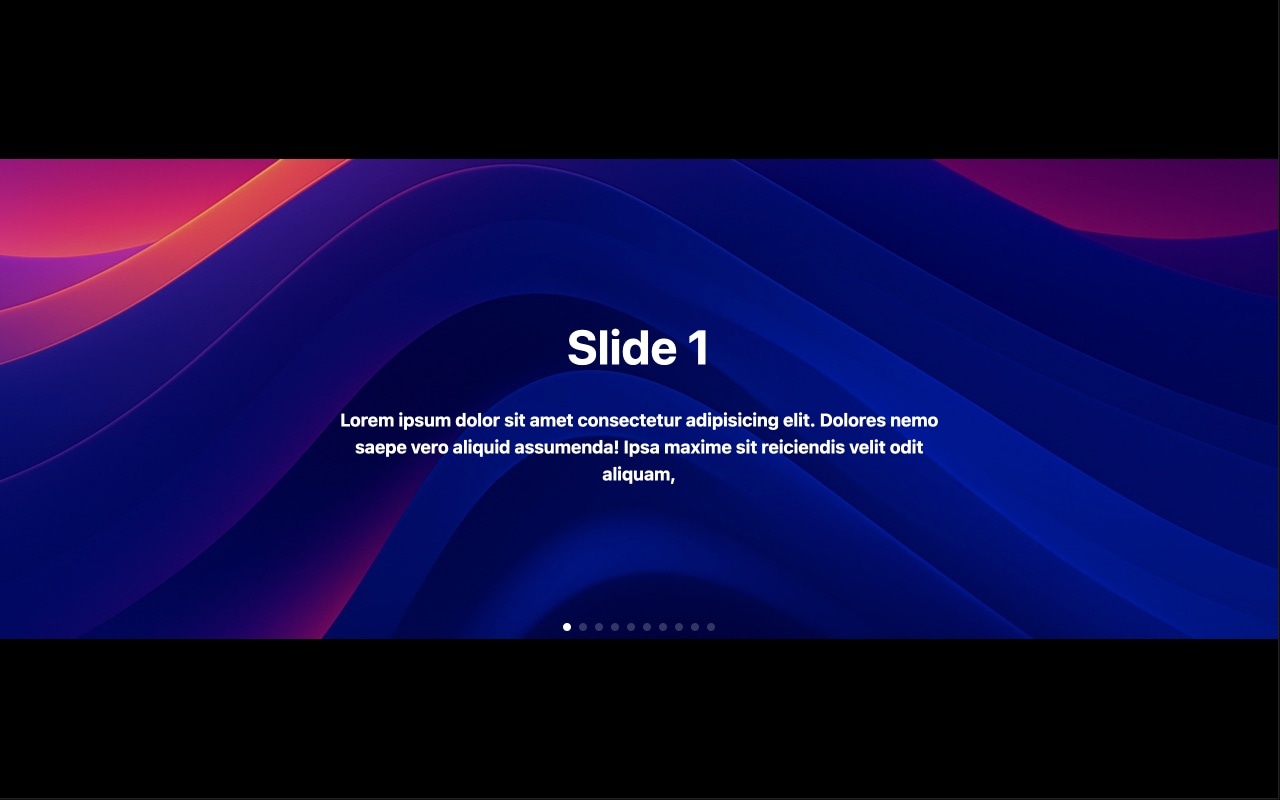
- Add your own slide content — upload background images, add text elements, buttons, or any combination of child elements to each slide2
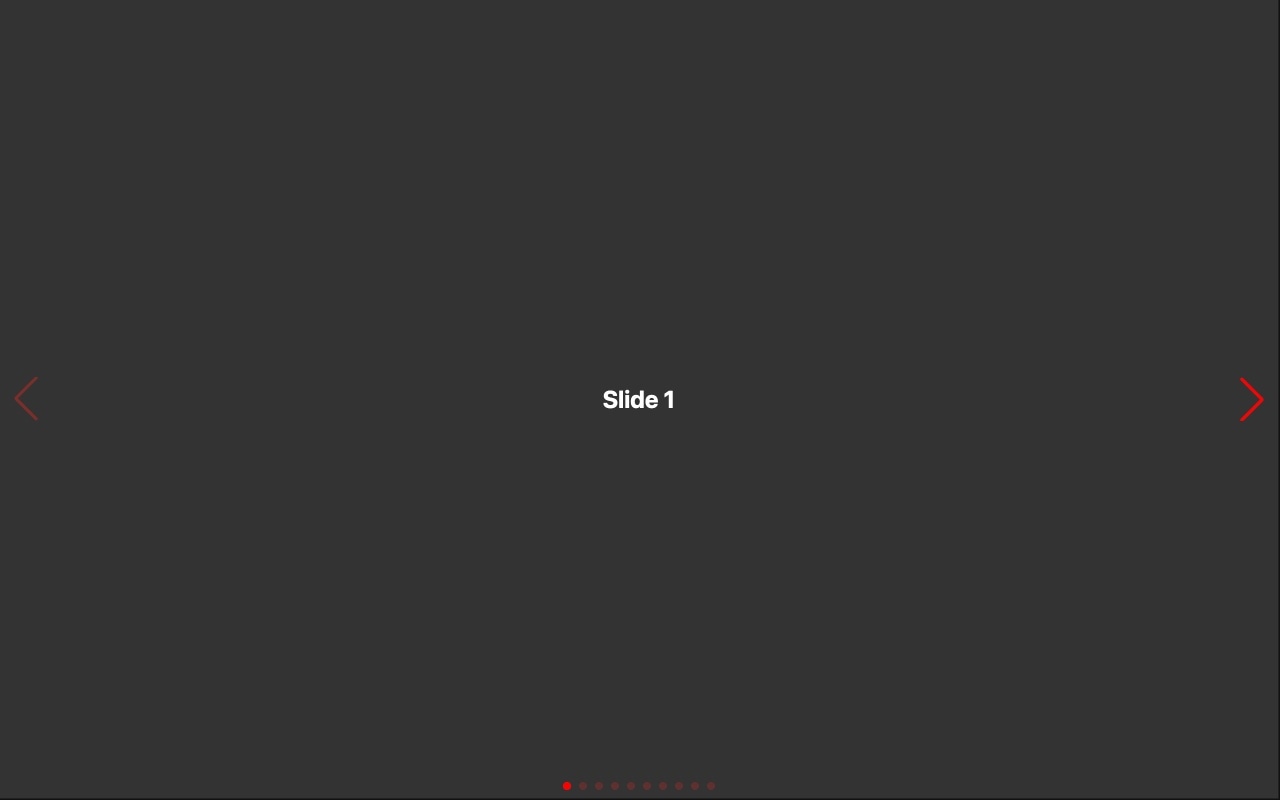
- Enable the features you need: turn on navigation arrows, pagination dots, autoplay, loop mode, or keyboard control from the settings panel3
- Choose a transition effect if you want something beyond the default slide — try fade, cube, coverflow, flip, or creative effects4
- Adjust spacing, speed, and slides per view to match your layout requirements5
- Add responsive breakpoints to set different configurations for mobile, tablet, and desktop screen sizes6
- Export to your preferred format (HTML, React, Vue, Next.js, Web Component, or Webflow) or publish to CDN7
#Frequently Asked Questions
- Why would I start with the default template instead of a pre-designed one?
- The default template gives you a completely clean slate with zero opinionated styling. If you have a specific design in mind and want full control from the start, this is the fastest way to get there. You avoid spending time removing or overriding pre-built styling decisions. Think of it as starting with a blank document rather than editing someone else's work.
- What are the default Swiper settings in this template?
- Every Swiper parameter is set to its out-of-the-box value: one slide per view, horizontal sliding, no autoplay, no loop, no navigation arrows or pagination dots, and the default transition speed. This is exactly what you get when you initialize Swiper with no configuration — a minimal, functional slider ready to be shaped into anything.
- Can I add navigation, pagination, and effects later?
- Absolutely. The visual editor lets you enable navigation arrows, pagination dots (bullets, fraction, or progressbar), scrollbar, autoplay, loop mode, and over a dozen transition effects — all with a few clicks. Starting from defaults just means none of these are pre-enabled, so you add only what you actually need.
- Is this template responsive?
- By default, the slider adapts to its container width but does not include custom breakpoint configurations. You can add breakpoints for mobile, tablet, and desktop in the editor to set different slides per view, spacing, and other parameters at each screen size. The breakpoints template is a great next step if you need responsive configuration out of the box.
- What export formats are available?
- All Swiper Studio export formats are supported: standalone HTML, React component, Vue component, Next.js project, Web Component, and native Webflow element. You can also publish to CDN for instant embedding on any website.
#Related Templates

#Related Resources
Ready to Build Your Slider?
Pick a template, customize it visually, and export production-ready code to React, Vue, Next.js, HTML, Webflow, and more. No coding required.