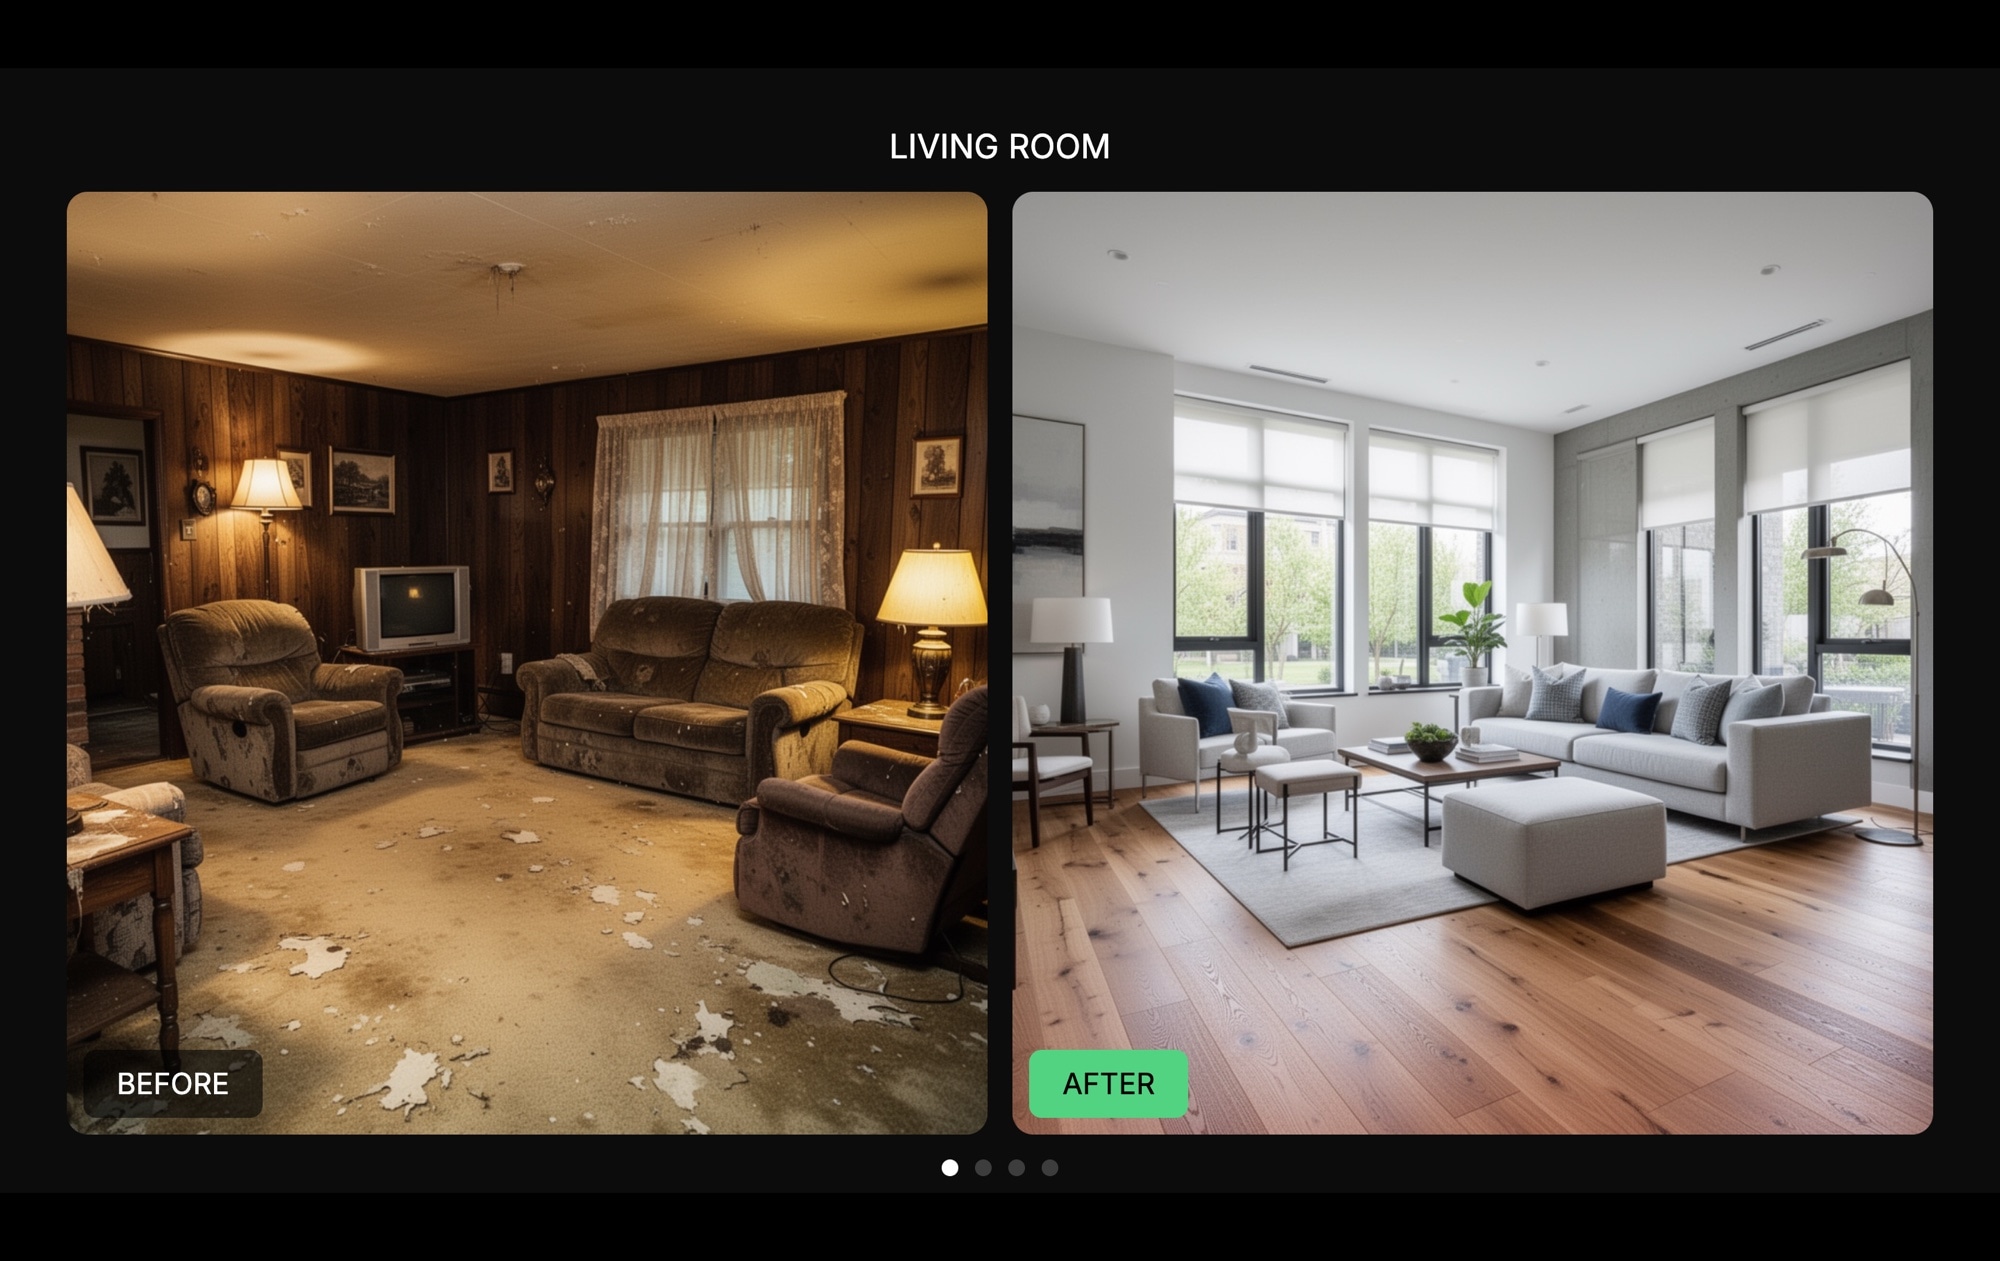
Before / After - Home Renovation
Show the full story of a renovation in one swipe. Each slide in this dark-themed carousel presents a room label at the top ("Living Room", "Kitchen", "Master Bedroom"), with a side-by-side photo pair below — the dated original on the left marked with a "BEFORE" label, and the finished result on the right highlighted with a green "AFTER" badge. The dark background keeps all attention on the photography, making every transformation feel dramatic and intentional. Open this template in Swiper Studio, drop in your own project photos, and have a compelling renovation showcase ready to publish in minutes.
#What Makes This Template Stand Out
Side-by-Side Comparison Layout
Each slide places the before and after photos directly next to each other, creating an instant visual contrast that no amount of descriptive text can match. Visitors immediately see the scope and quality of the transformation without switching between pages or toggling an overlay.
Clear Status Badges
A 'BEFORE' label and a green 'AFTER' badge on each photo pair eliminate any ambiguity about which image is which. The color-coded badges are instantly scannable — visitors understand the transformation at a glance, even when swiping quickly through multiple rooms.
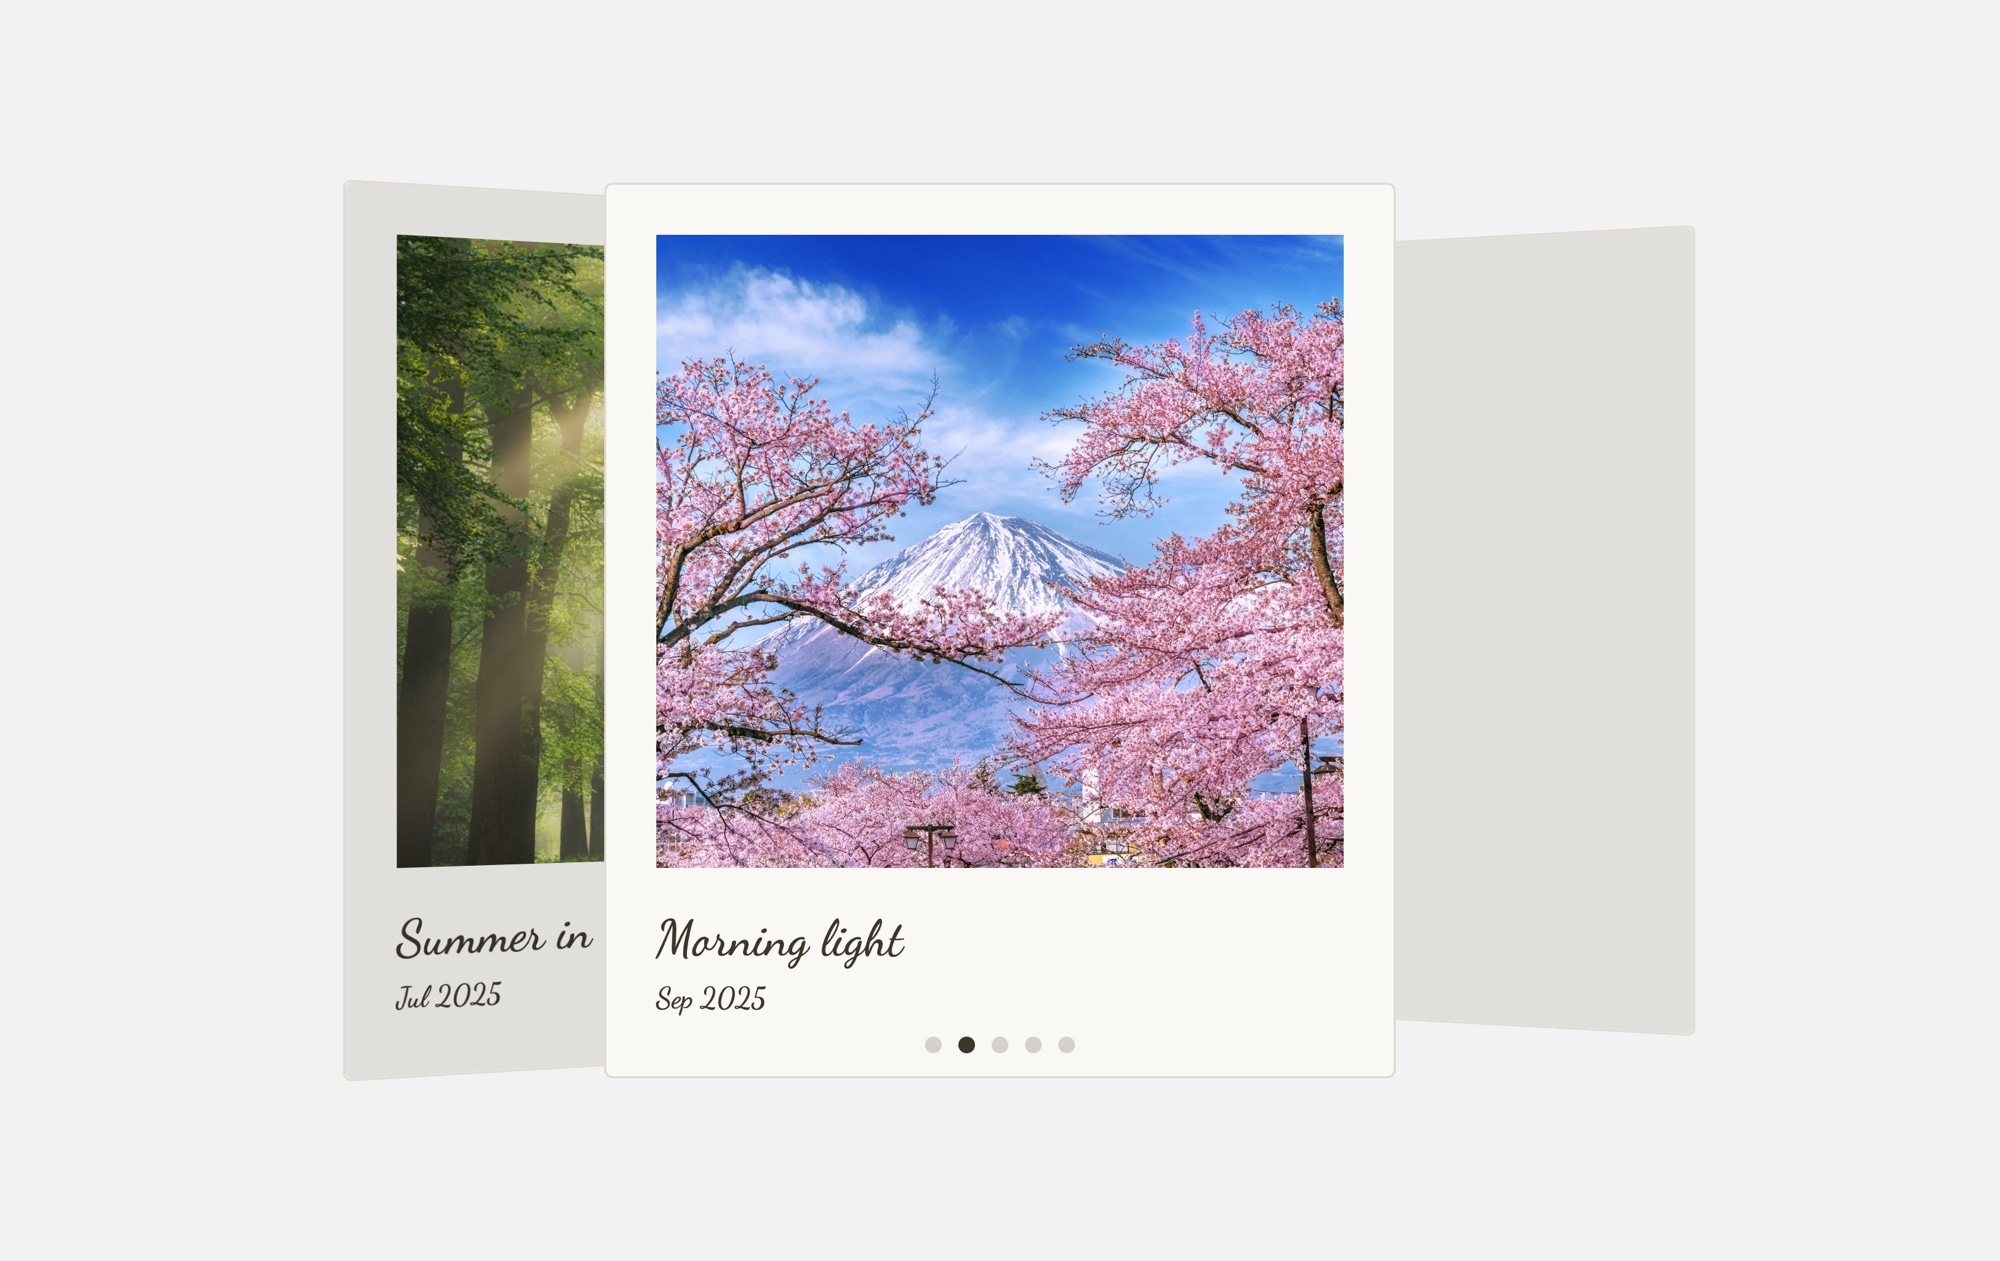
Room Labels for Context
A prominent room label at the top of each slide ('Living Room', 'Kitchen', 'Bathroom') gives viewers immediate context about what they are looking at. This organizational layer turns a collection of photos into a structured project walkthrough.
Dark Cinematic Background
The deep dark backdrop makes renovation photography look richer and more dramatic. Light-colored interiors pop against the dark surroundings, and the contrast draws the viewer's eye directly to the before and after images rather than the page chrome.
Swipe-Through Project Narrative
The carousel format turns a renovation portfolio into a story. Visitors swipe from room to room, experiencing the full scope of the project in sequence. This guided flow is more engaging than a static image grid and keeps people on the page longer.
#Who Should Use This Template
This template is built for contractors, interior designers, and renovation firms who need their portfolio to sell the next project. A static gallery of finished rooms is fine, but showing the before state alongside the after creates a narrative of transformation that prospective clients find far more compelling. When someone sees a dated kitchen become a modern showpiece, they imagine their own home getting the same treatment.
Real estate professionals and home stagers can use this slider to demonstrate the value of pre-sale renovations or staging services. Showing the before and after side by side makes the return on investment tangible — buyers and sellers can see exactly how much a property improved, which builds confidence and justifies pricing.
Any business that sells visual transformations will find this format effective. Auto detailers, landscape architects, cosmetic dentists, fitness trainers, restoration specialists — the before/after comparison is one of the most persuasive visual patterns on the web, and this template makes it dead simple to implement without writing a single line of code.
#Best Use Cases
- ✓Contractor and renovation company portfolios showcasing completed residential projects room by room
- ✓Interior design studio websites presenting transformation case studies to attract new clients
- ✓Real estate listing pages demonstrating the impact of renovations or staging on property value
- ✓Home improvement blogs and content marketing pages with visual proof of project results
- ✓Trade show and client presentation decks where a swipeable before/after is more engaging than static slides
- ✓Social proof sections on service pages where visual evidence of quality work drives conversions
#How to Customize
- Open the Before / After Home Renovation template in Swiper Studio by clicking 'Use This Template' above1
- Replace the before and after photos on each slide — select each image element and upload your own project photography or choose from the built-in demo image library2
- Update the room labels at the top of each slide to match your actual project rooms or categories3
- Customize the badge labels and colors — change 'BEFORE' and 'AFTER' to your preferred terminology, and adjust badge colors to align with your brand palette4
- Add or remove slides by duplicating existing ones for consistent layout or deleting rooms you want to exclude from the showcase5
- Adjust responsive breakpoints — fine-tune image sizing, badge placement, and text for mobile, tablet, and desktop so the comparisons remain clear at every screen size6
- Export to your preferred format (HTML, React, Vue, Next.js, Web Component, or Webflow) or publish to CDN for instant embedding on your portfolio site7
#Frequently Asked Questions
- Can I use this template for projects other than home renovation?
- Yes. The before/after format works for any transformation — dental treatments, landscape redesigns, product restorations, fitness progress, auto detailing, commercial remodels, or website redesigns. Replace the room labels with your own category names, swap the photos, and the structure adapts to any industry where showing a visual transformation is persuasive.
- How do I add more room comparisons to the slider?
- Duplicate an existing slide to keep the layout, badges, and styling consistent. Then replace the room label at the top, swap the before and after photos, and update any descriptive text. There is no limit to the number of slides — add as many rooms or projects as you need.
- Can I change the badge labels and colors?
- Absolutely. The "BEFORE" and "AFTER" badges are text elements with background colors. Select any badge in the visual editor to change its label, background color, text color, border radius, and font size. You can rename them to "Old" and "New", "Original" and "Remodeled", or anything else that fits your use case.
- Does the side-by-side layout work on mobile devices?
- Yes. The template includes pre-configured responsive breakpoints. On smaller screens, the layout adjusts so the before and after photos stack vertically rather than side by side, ensuring both images remain large and clear. You can fine-tune spacing, image sizing, and text at each breakpoint independently.
- What export formats are available?
- You can export the before/after slider as standalone HTML, a React component, a Vue component, a Next.js project, a Web Component, or a native Webflow element. You can also publish to CDN for instant iframe embedding on any website, including WordPress, Squarespace, or a contractor portfolio site.
#Related Templates

#Related Resources
- Swiper Studio for Before & After
- Swiper Studio for Image Galleries
- Swiper Studio for Photographers
- Swiper Studio for Small Businesses
Ready to Build Your Slider?
Pick a template, customize it visually, and export production-ready code to React, Vue, Next.js, HTML, Webflow, and more. No coding required.