#Paste into Webflow: Swiper Studio Sliders Without an App
Getting a Swiper Studio slider into Webflow used to mean installing a Webflow app, connecting your Webflow account, and granting it access to your site's custom code. Starting today, it's a copy and a paste.
Publish your slider, click Copy in Swiper Studio, switch to the Webflow Designer, and press Cmd+V. That's it. There is nothing to install, nothing to authorize, and no account to connect.
#How It Works
#Step 1: Publish Your Slider to CDN
Open your project in Swiper Studio, click Export, and under Publish to CDN click Publish (or Update if it's already published). Your slider's styles and script are now hosted on our global CDN.
#Step 2: Copy It for Webflow
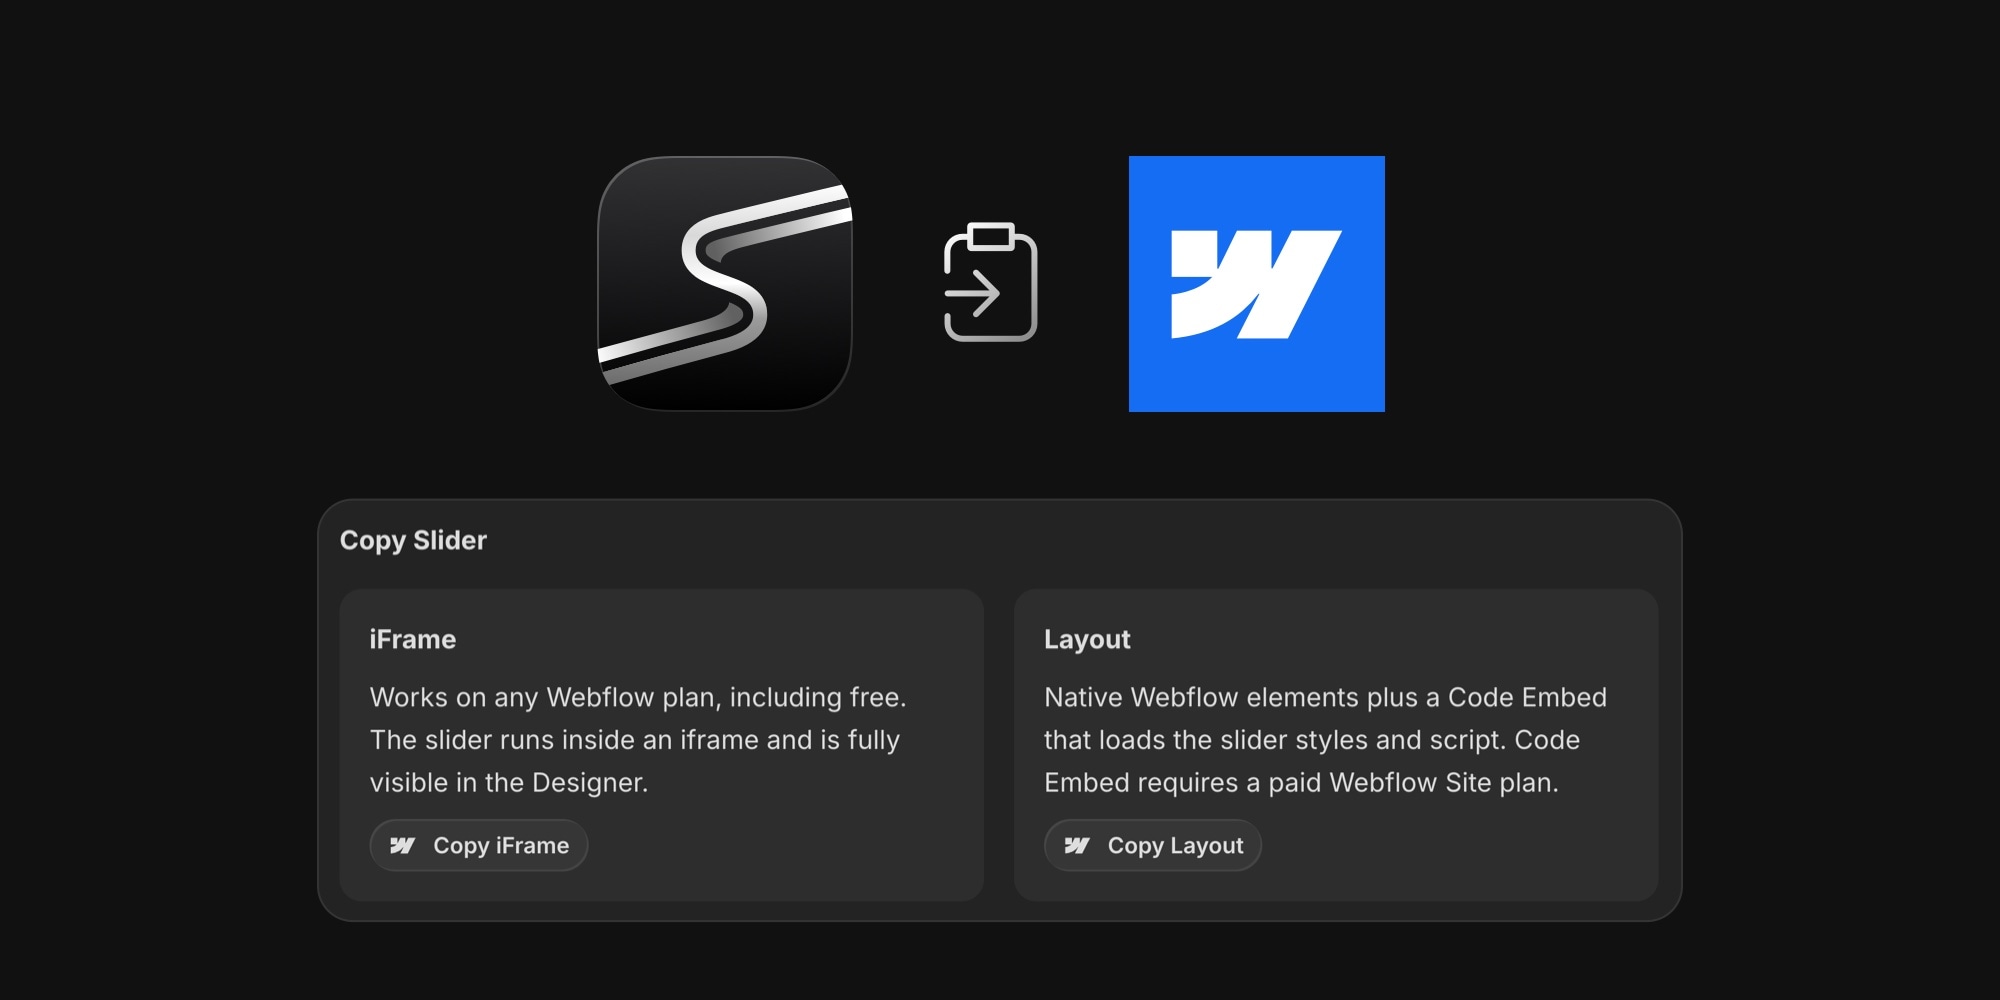
Once your slider is published, the instructions open automatically (you can always get back to them with the Instructions button). Switch to the Webflow tab. You'll see two buttons - Copy iFrame and Copy Layout. More on the difference below.
#Step 3: Paste into the Webflow Designer
Open your site in the Webflow Designer, select the element where you want the slider to go - a section, for example - and press Cmd+V (Ctrl+V on Windows). The slider appears on the canvas and in the Navigator, ready to move around like any other element.
#Step 4: Publish Your Webflow Site
Publish your site as usual, and the slider goes live with it.
#Two Ways to Paste
Different sites need different things, so you can paste a slider in two ways.
#iFrame: Works on Every Webflow Plan
Copy iFrame pastes a container with an iframe that loads your published slider. It needs no custom code, so it works on every Webflow plan, including free. The slider runs right inside the Designer canvas, so you see exactly what your visitors will see while you design around it. The container is already sized to match your slider, whether it uses a fixed height or an aspect ratio.
#Layout: Native Webflow Elements
Copy Layout pastes the slider as real Webflow elements: the slider, its wrapper, every slide, image, and text block shows up in the Navigator with its own class. Slide text is regular HTML on your page - not hidden inside an iframe - so search engines can read it. A Code Embed inside the slider loads its styles and script from our CDN.
Two things to know about Layout:
- It needs a paid Webflow Site plan. Webflow only runs custom code, including Code Embed elements, on paid Site plans.
- The Designer canvas doesn't run custom code. You'll see the first slide at the slider's size, but not the effects or navigation. To see the slider in action, click Preview and enable Custom Code, or check your published site.
#Which One Should I Use?
| iFrame | Layout | |
|---|---|---|
| Webflow plan | Any, including free | Paid Site plan |
| Runs in the Designer | Yes | In Preview with Custom Code |
| Elements in the Navigator | One container | Every slide and element |
| Slide text on your page | No, inside the iframe | Yes |
If you're on a free Webflow plan, or just want the slider on the page with the least fuss, use iFrame. If you want the slider's content to be part of your page, use Layout.
#Updating a Slider
Made changes in Swiper Studio? Click Update under Publish to CDN, copy the slider again, paste it into the Designer, and delete the old one.
#What Happens to the Webflow App
Swiper Studio no longer works through the PaneFlow & Swiper Studio app for Webflow, and the Connect Webflow option is gone from the account menu - Swiper Studio doesn't need access to your Webflow account anymore.
If you inserted sliders with the app before, they keep working - they load from our CDN like before. When you open the app, it now points you to Paste into Webflow, and you can uninstall it from your site's Apps panel whenever you like. To change one of those sliders later, update it in Swiper Studio and paste it again.
#Try It Today
Paste into Webflow is included in every Swiper Studio plan, next to CDN publishing, code export, and the Shopify app. Open one of your projects, or start from one of our templates, publish it, and paste it into your Webflow site.